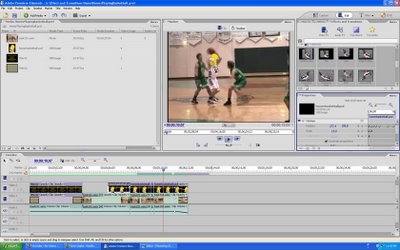
Using Keyframes to Animate a Replacement Image
Stuart Klein - 7:13pm Jul 2, 06 PST (#1 of 1)
Greg,
Can you do the same thing for me to illustrate use of keyframes to replace a face in a video that is moving around with a face from a still photo without putting keyframe points in every frame of the video as suggested in response to my question on the form (see "Replace face in video with face in still photo" (1 message; 6/29/06). If you can, I would appreciate it very much.
Thanks,
Stu Klein
Here ya go, Stu. This is the same type of effect you'll see in use on America's Funniest Home Video's when they take host Tom Bergeron's head and put it into some of the submitted videos. It's a surprisingly funny effect even here on an 11 second clip with Homer Simpson.
For this excercise, I found a picture of Homer Simpson online, copied it into Photoshop, cleaned it up and then added it to the project media bin. From there, it was just a matter of placing the head onto the first frame where I wanted it to show up. Then, opening the properties panel and activating the toggle animation button to record my keyframes I began the process for making Homer play basketball in my short clip. Just scale the head to make it more in line with your other subjects and you don't really have to do it frame by frame since you can adjust his head as the frames change.
It's a matter of tweaking it because the players head moves alot, you'll move Homer as well and the keyframes are automatically added. You can flip the head using the horizontal flip option under the Video Effects menu to keep it facing the right direction and as the video goes along, you can keep adding flips as necessary and the timeline reflects the flip rather than having to break the clip up into sections. All your tweaks can be recorded on the same piece of video.

You certainly don't have to keyframe every single frame of the video but the more you do the better your end result can be. It can be as accurate or as loose as you want it to be. For this, I didn't spend much time at all doing it and it turned out ok.
I think it's funny just because Homer makes me laugh anyway and I'm not above going for the cheap laughs. I also went back in and did it with TIME STRETCH of 50% for a nice slow motion effect.
Cheers!